
A Step-by-Step Guide to Creating a Personalized Pet Portrait
Ab
Creating a personalized pet portrait is a wonderful way to celebrate the unique personality of your furry friend. Whether you want to capture their playful nature or their regal stature, a custom portrait can be a cherished keepsake for years to come. Here’s a step-by-step guide to help you create the perfect portrait of your beloved pet.
Gather Your Materials
The first step in creating a personalized pet portrait is to gather all the necessary materials. You'll need a high-quality photograph of your pet, art supplies or digital tools depending on your chosen medium, and a clear workspace. If you're using traditional art supplies, make sure you have pencils, paints, brushes, and canvases ready. For digital portraits, ensure your software is up-to-date and that you've got a stylus if needed.
Choose the Right Reference Photo
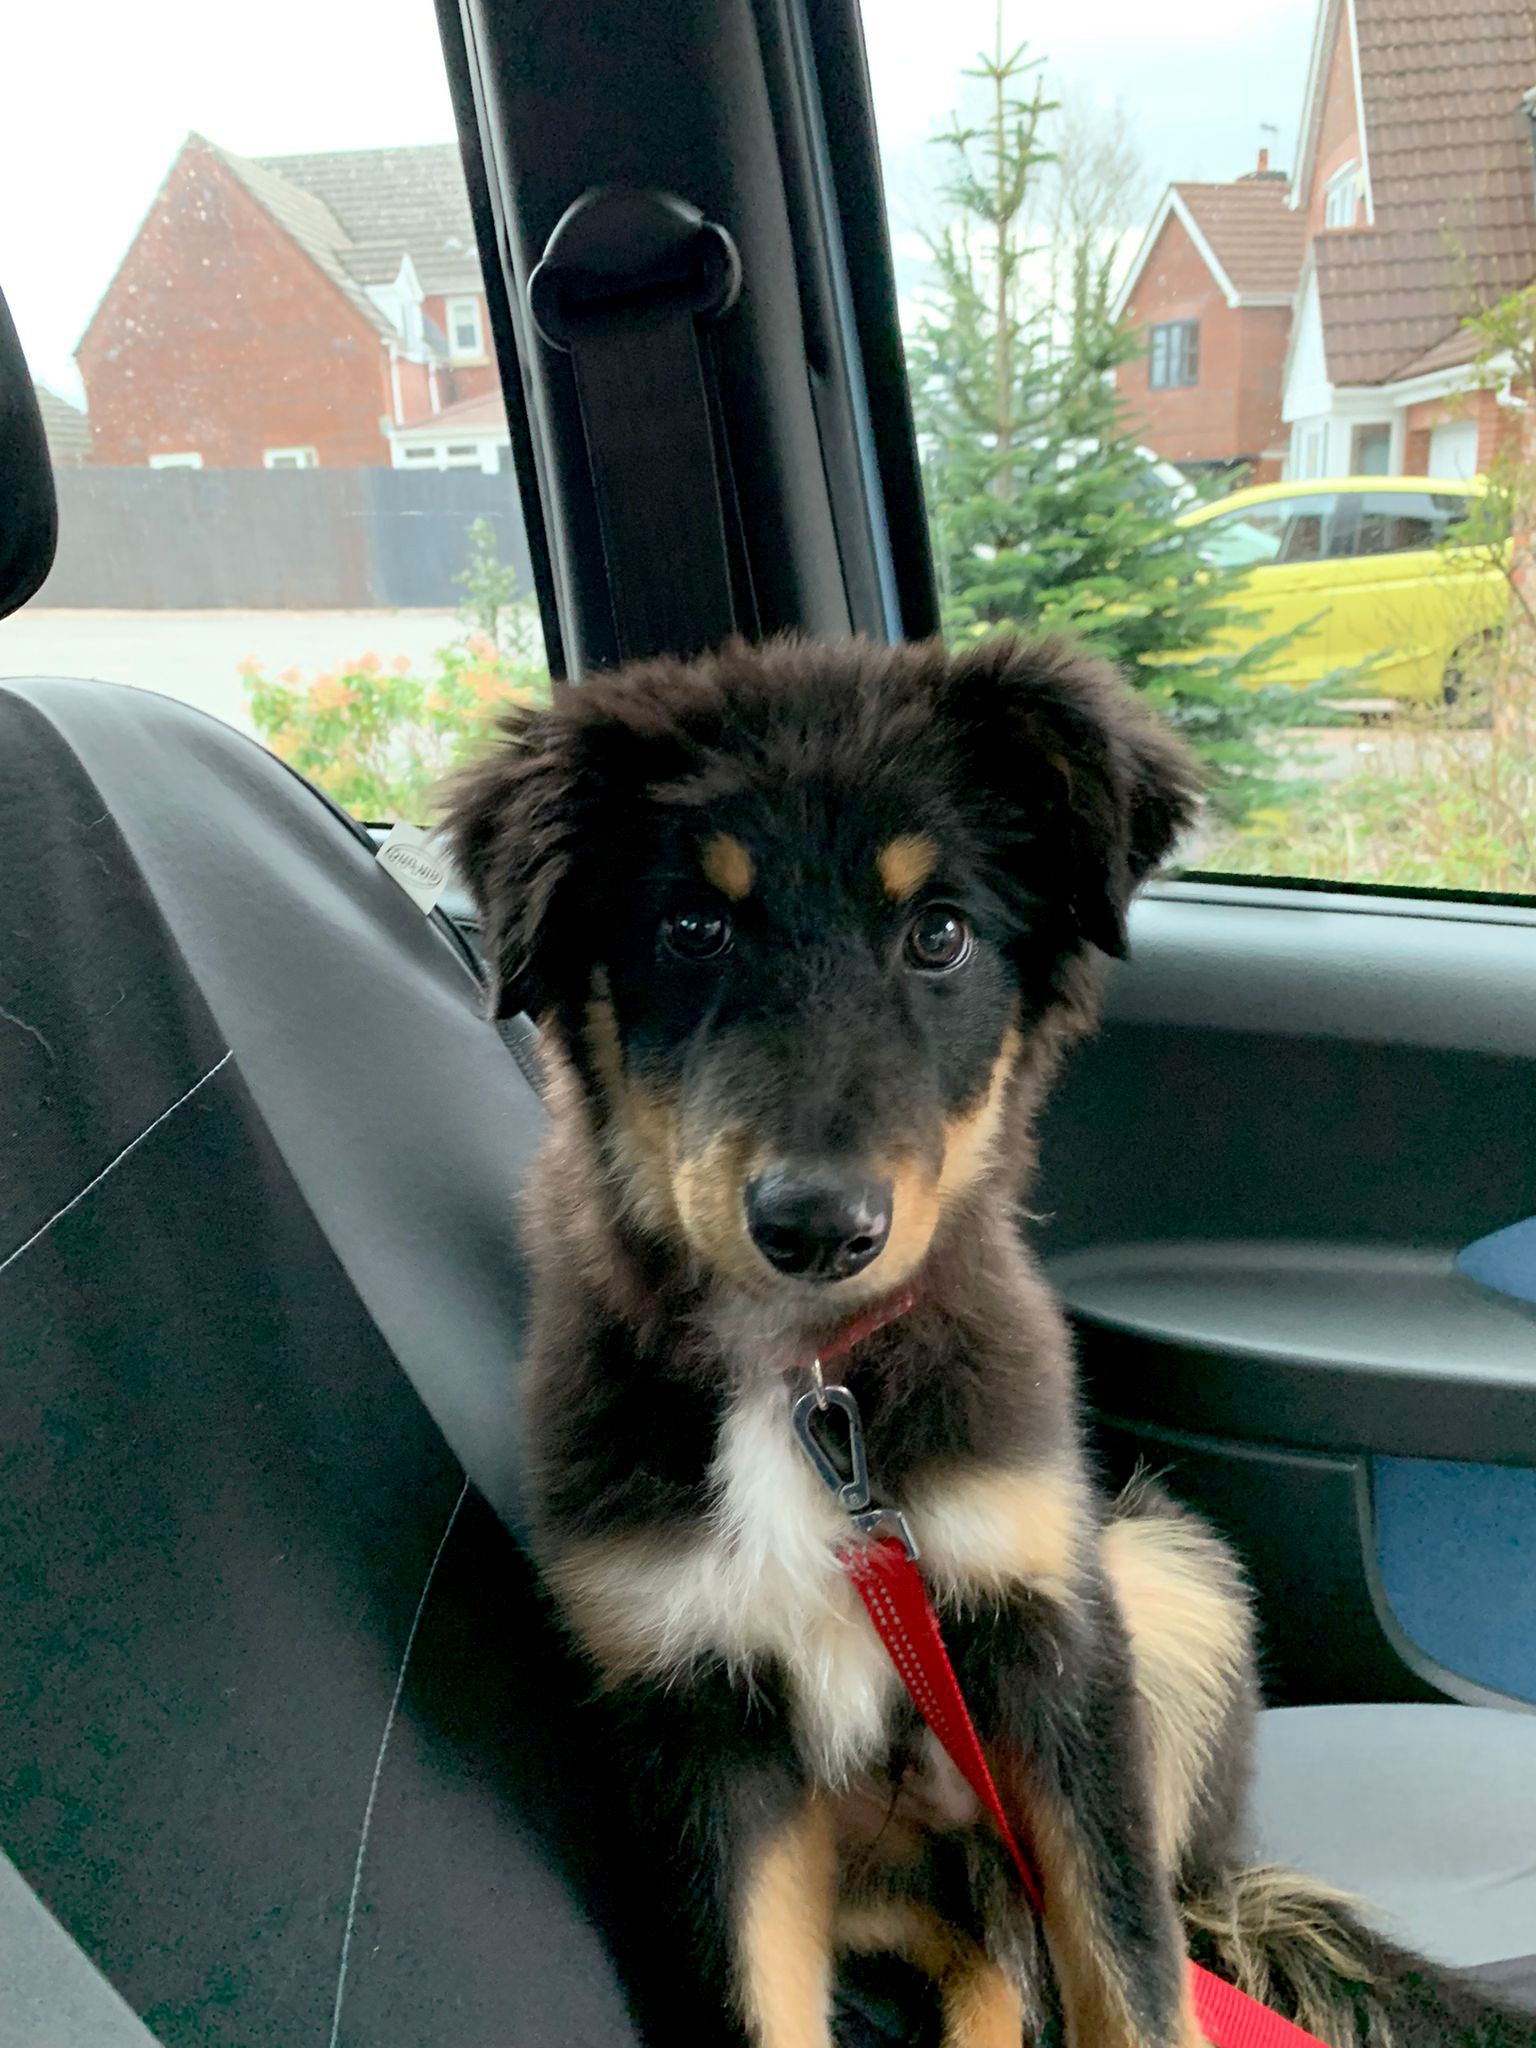
Selecting the right reference photo is crucial for capturing the essence of your pet. Choose a picture that shows their face clearly and reflects their personality. It's helpful if the photo is taken in good lighting and at eye level with your pet. This will make it easier to translate their features accurately onto your canvas or screen.
Consider Different Angles
While a straightforward headshot is popular, sometimes capturing your pet from a unique angle can add interest to the portrait. Consider using a photo where they are looking slightly off-camera or capturing them mid-action for dynamic energy. The key is to choose an image that speaks to you and highlights what you love most about your pet.
Plan Your Composition
Once you have your reference photo, plan the composition of your portrait. Think about how much of your pet you want to include in the image. Will it be a full-body portrait, or are you focusing just on their face? Decide on the background as well; it can be a simple color or something more detailed that reflects your pet's character.
Selecting Colors and Style
The style and color palette of your portrait will greatly influence its overall feel. Consider whether you want a realistic representation or something more abstract and whimsical. Experiment with different colors that complement your pet’s natural hues or opt for bold contrasts to make the portrait pop.
Start Sketching
Begin your portrait by sketching the basic outline of your pet. Focus on getting the proportions right and marking key features such as the eyes, nose, and ears. If you're working digitally, use layers to adjust elements easily without affecting the entire image. Don’t worry about perfection at this stage; it’s more important to capture the general shape and form.

Adding Details and Texture
After establishing the basic outline, start adding details like fur texture, shading, and highlights. Pay attention to the direction of fur growth and any unique markings your pet may have. Whether using paint or digital tools, layer different shades to create depth and realism.
Final Touches
The final stage involves refining details and adding any finishing touches. Make sure to step back periodically to view your work from a distance, as this can help identify areas that need adjustment. Consider including any personal touches like your pet's name or a favorite toy in the background.
Creating a personalized pet portrait is not just about replicating an image; it's about capturing the spirit of your pet and transforming it into art. With patience and practice, you'll craft a piece that not only looks beautiful but also holds sentimental value.